bitsCTF - Forensics - Baby DFIR
One tool, one flag!

Challenge description
I promise this is actually easy.
Find the flag.
Flag : BITSCTF{a_really_simple_intro_to_DFIR_12848a9e}
Ressources
For this challenge, we are given a .ad1 file named abc.ad1.
.ad1 file type
An.ad1file is an image format used by AccessData’sFTK Imager tool. It is a proprietary forensic image format that allows for the preservation of the exact state of a storage device, including all file system structures and unallocated space. These images are commonly used in digital forensics to capture the contents of a disk or other storage media for further analysis, maintaining both the integrity and completeness of the data.
Tools
In this challenge, as we have a .ad1 file, we will need FTK Imager to analyse it.
FTK Imager is a powerful forensic imaging tool developed by AccessData, widely used in digital forensics to create exact, bit-for-bit copies of storage devices and thoroughly analyze the contents of these images.
Walkthrough
Installing FTK Imager
The first step is to install FTK Imager. Since we are working with a proprietary forensic image format, it is essential to use the correct software to properly analyze it.
You can install FTK Imager from Exterro’s website.
Opening the ad1 file
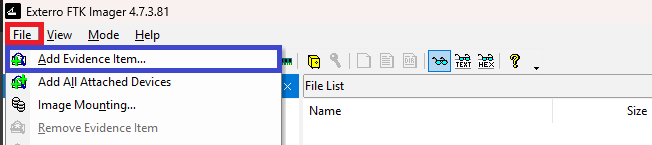
Once FTK Imager is installed, you can begin opening the .ad1 file. To do so, go to the options bar at the top of the application, click on File, and then select Add Evidence Item....
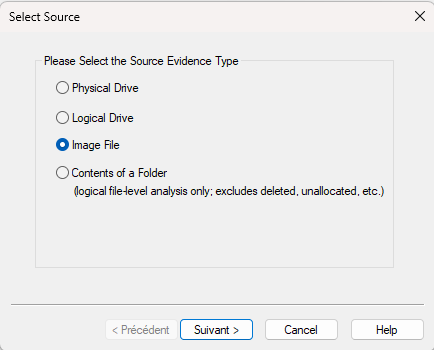
Next, choose Image file as we are working with a .ad1 image that needs to be analyzed.
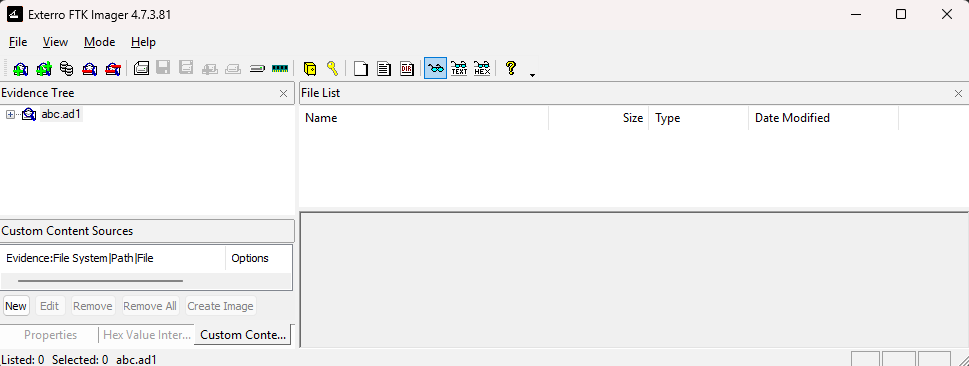
To confirm that the file has been successfully loaded, check the evidence tree on the left. You should now see the newly added evidence entries.
Reading the flag
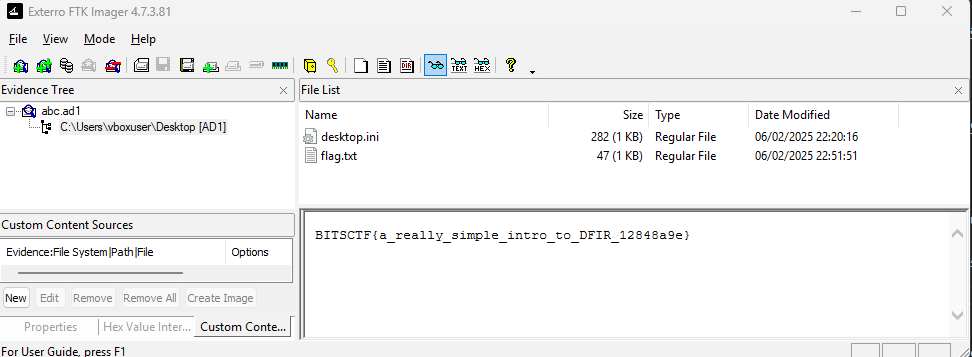
We’re almost done with the challenge! The only step left is to explore the evidence tree a little further. You will (very) quickly come across a flag.txt file. After clicking on it, its contents will appear at the bottom of the window, revealing the actual flag.
Conclusion
As mentioned in the description, this challenge was relatively straightforward, requiring no advanced analysis or specialized knowledge — simply using the right tool was enough. If you found this challenge too easy, and want to go deeper, feel free to check out my other forensics writeups!
Thank you for reading my write-up! See you in the next one!
emree1